But about these cookies. I was seconds away from putting popcorn in them, because the raisinet and popcorn combo is one of my favorite indulgent snacks. I decided against it; only because I wanted to bake them the next day, and I thought the popcorn would get soggy and lose it's crunch. Actually, popcorn tends to lose it's crunch if you leave it out too long, so I was also afraid that would happen in the cookie. When I ultimately take on this challenge of putting popcorn in cookies, I think I will start with caramel corn, which locks in the crunchiness.
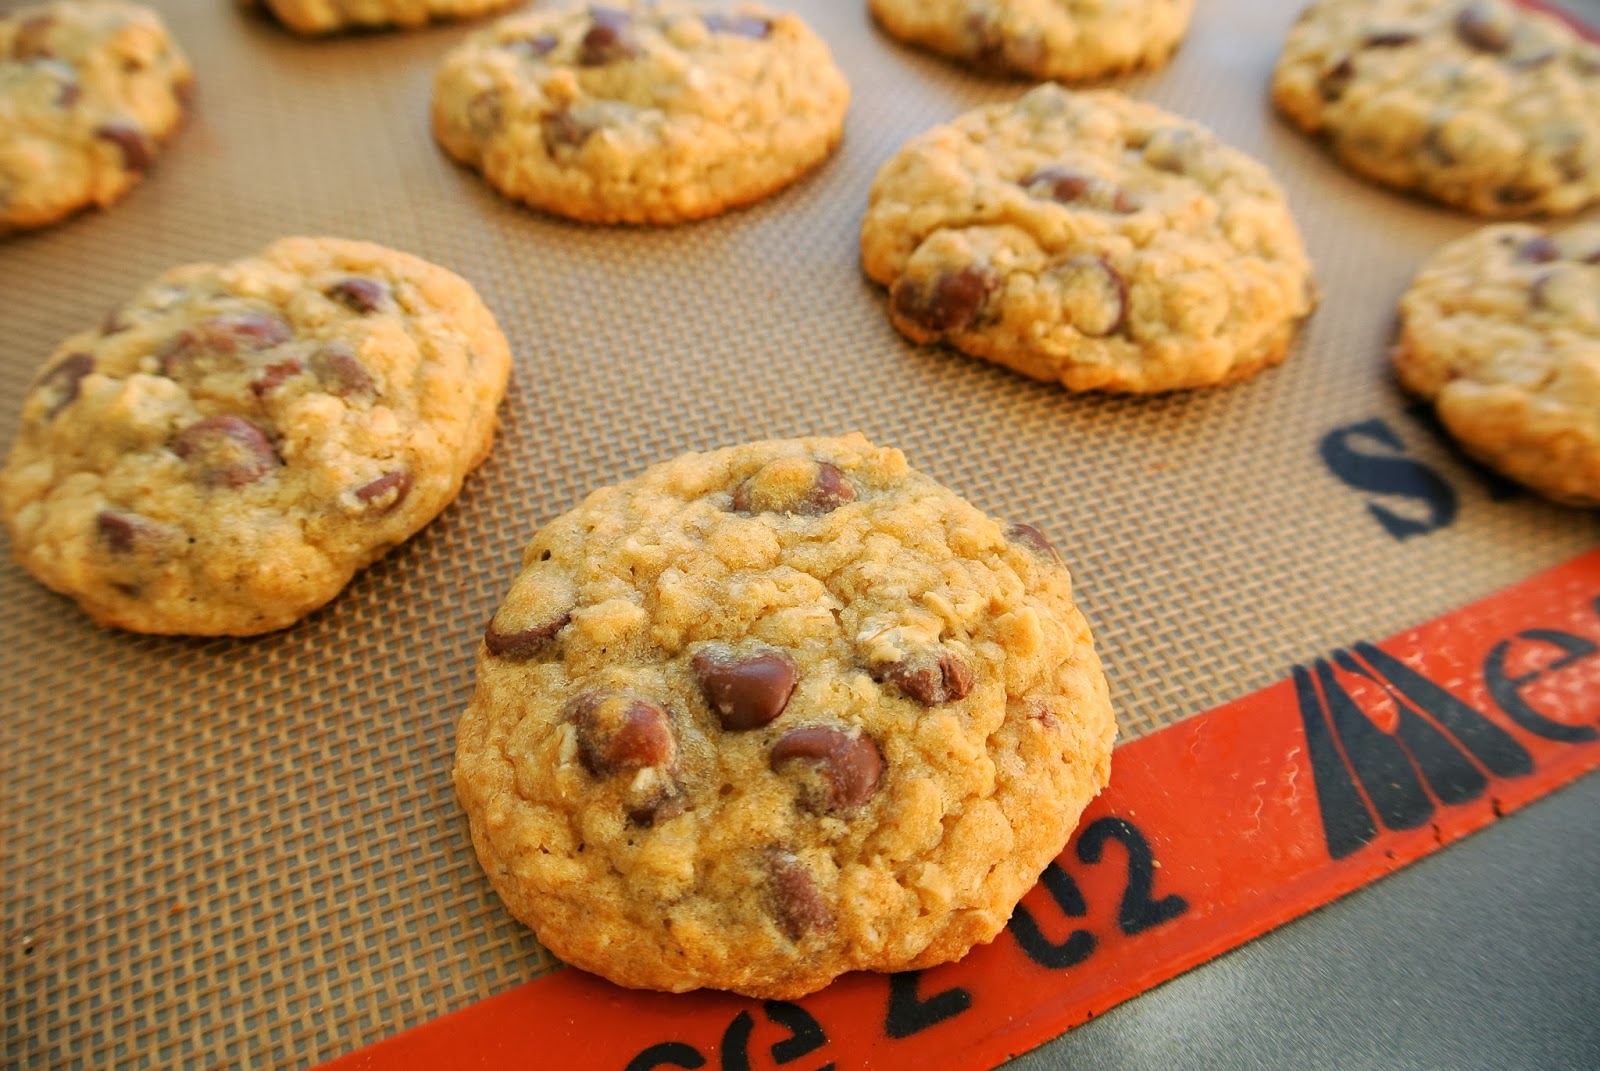
Oatmeal Raisinet Chip Cookies
Ingredients
1 stick butter
½ cup sugar
½ cup light brown sugar
1 large egg
2 teaspoons vanilla
1 cup all purpose flour
1 cup rolled oats
¼ teaspoon salt
½ teaspoon baking powder
¼ teaspoon baking soda
1 cup raisinets
½ cup semi sweet chocolate chips
Start by creaming together the butter and sugars. If using a hand mixer, remember this part takes twice as long as using a stand mixer. If you think it's creamy enough, it probably isn't. A good indicator apart from fluffiness is the color should be come noticeably whiter.
Add the egg and vanilla and mix for a few minutes more. In a separate bowl (although not totally necessary) mix together the dry ingredients. Mix into the butter mixture until just incorporated. Fold in the chocolate chips and raisinets with a rubber spatula. Refrigerate for at least an hour.
When ready to bake, preheat the oven to 375. Do not bake immediately out of the fridge. Give the dough a bit of time to get soft again so it can spread. If you bake it immediately, the cookie doesn't spread as well, so they end up smaller and thicker. If you are into that though, go for it! Bake for 9 minutes.
**If you have time, always make one test cookie. Nothing is worse than baking half of your cookie dough or cupcake batter only to find out your oven is too hot or you cooked it for too long. More cookies do end up taking like a minute longer for some reason, but it's good to get the gist of things - and under-baking is always better than over-baking a cookie, anyway.


